Instructions
1. Select the Home tab and click on the Address Book.

Fig 1. The Address Book option on the Home tab
2. In the Search section enter the display name of your central distribution list. E.g. +departmentname.distibutionlistname
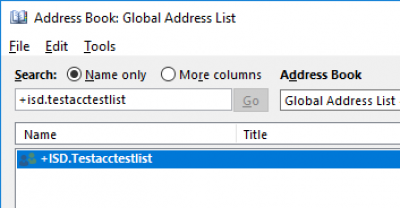
Fig 2. The Search field in the Global Address List (GAL)
3. Double click on the distribution list or right click and the select Properties. The details of the central distribution list will be displayed in a new window.
4. Click on the Modify Members… button
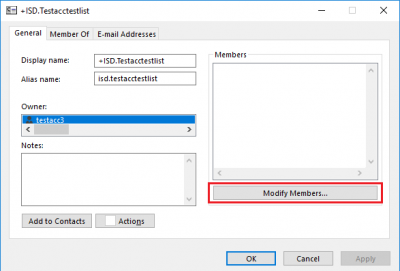
Fig 3. Example of a central distribution list and location of the Modify Members button
To add members
1. Click Add… and then search for the name or user ID of the person you want to add.
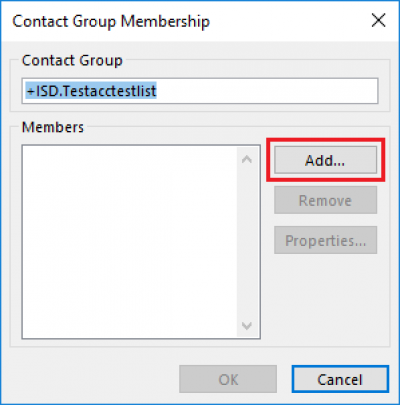
Fig 4. Location of the Add button on the Contact Group Membership box
2. Once you have found the person you want to add either double click on their name or highlight the name and click Add.
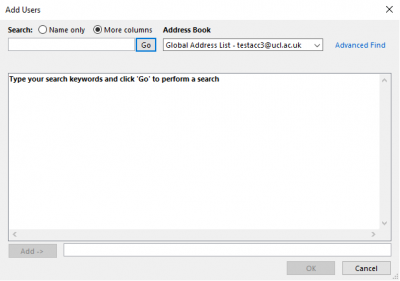
Fig 5. The Add Users window
Note: You can add more than one person at once by then searching for another name and following the previous two steps.
3. Once you have the people in your list that you want to add click the OK button.
4. You should then see them on the list. Click OK.
5. Click OK again to close the properties window.
To remove members
1. Search through the list for the person you want to remove. Highlight their name.
2. Click on the Remove button.
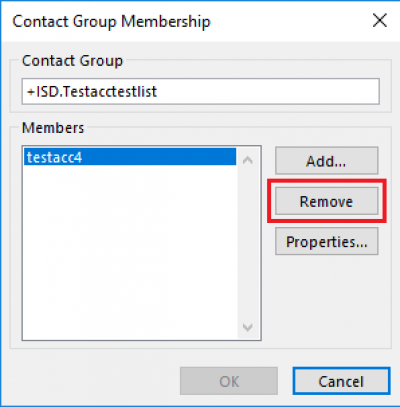
Fig 6. The Remove button in the Contact Group Membership box
3. Click OK.
